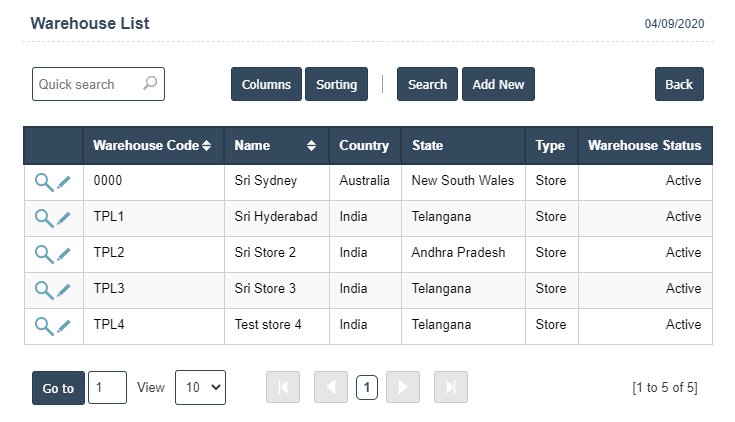
Warehouse List
1. Go to the back-office and click on the option Company Administration - Warehouse Setup and then click on the option Warehouse List.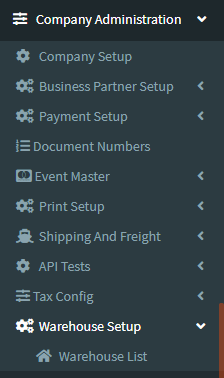
2. Add New : This Button is used to Add New Warehouse.
3. In below image click on Add New Button then it will displays the following image.
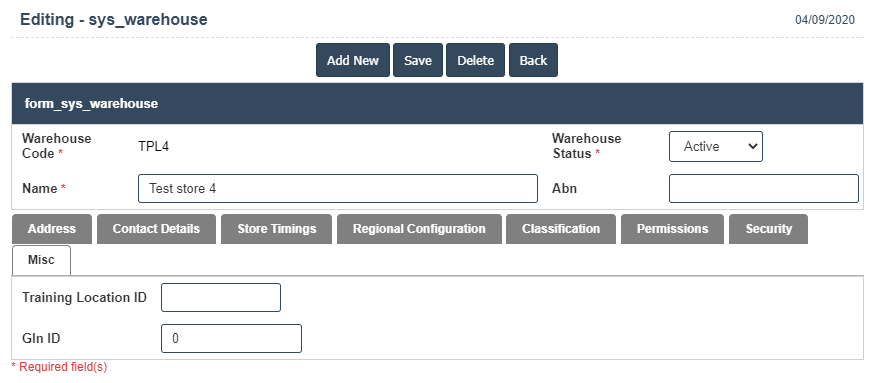
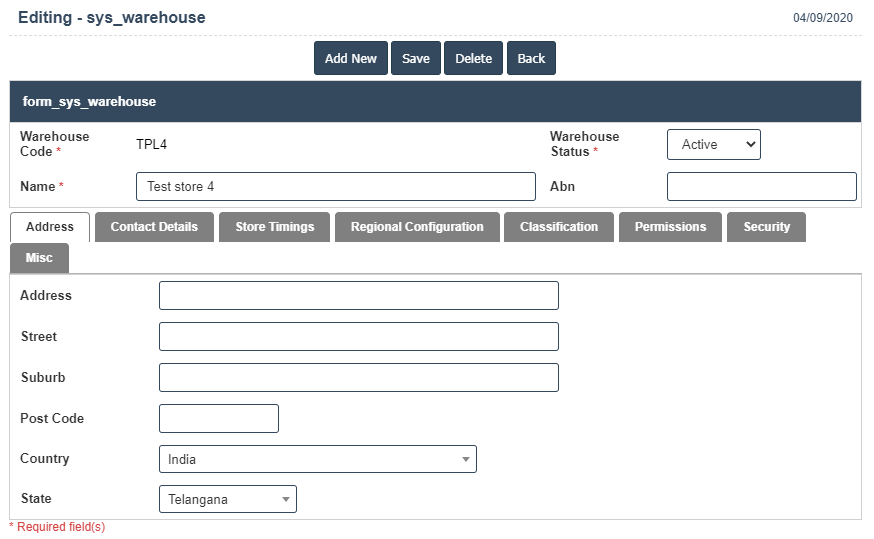
4. A New Warehouse will open the new page and fill the details.
5. Fields in this Warehouse Include:
- Warehouse Code
- Name
- Warehouse Status
- Abn.
6. Once you have completed the Warehouse details, click the Add button as shown below.
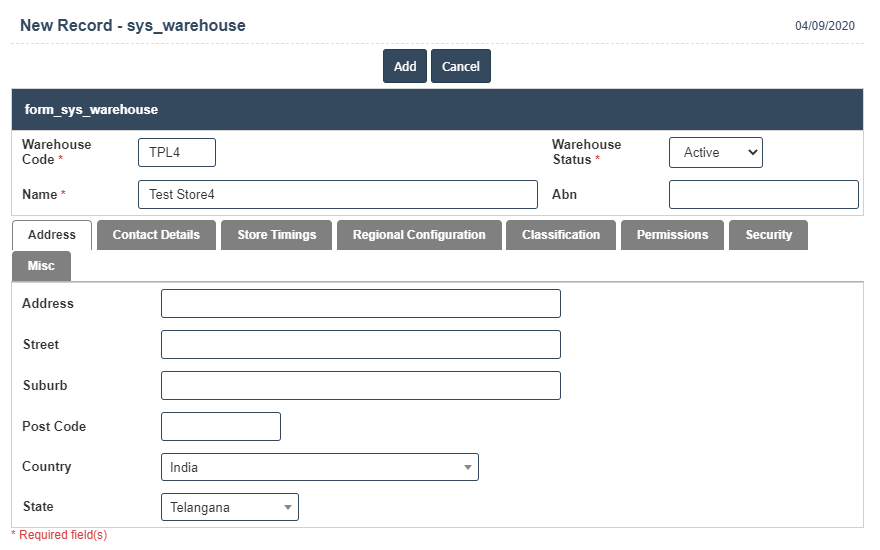
7. First we have to enter the Address then fill the details.
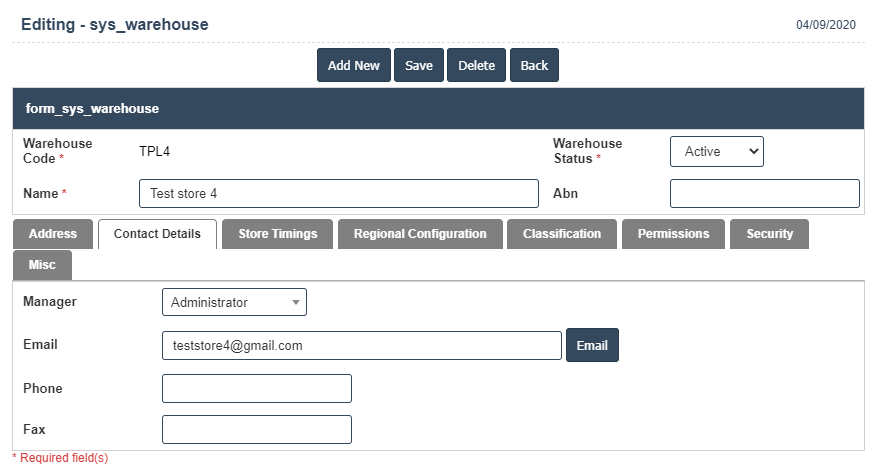
8. After Enter the Address then we should go for Contact Details.
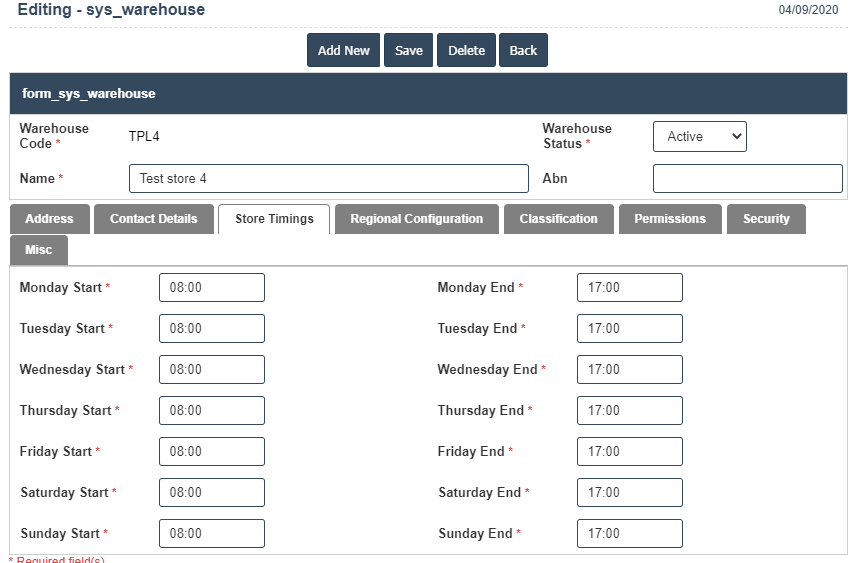
9. After Enter the Contact Details then we should go for Store Timings.
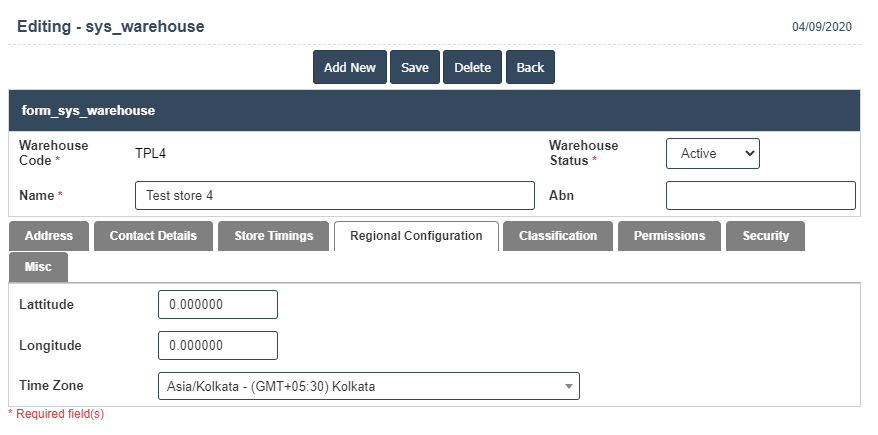
10. After Enter the Store Timings then we should go for Regional Configuration.
11. After Enter the Regional Configuration then we should go for Classification.
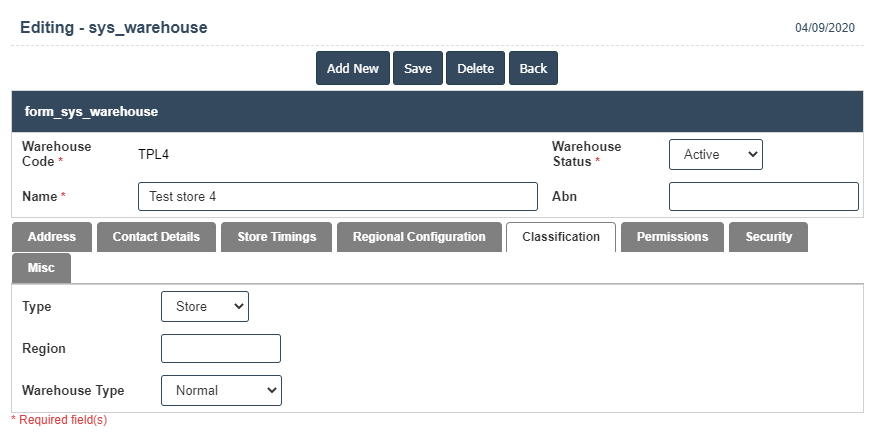
12. After Enter the Classification then we should go for Permissions.
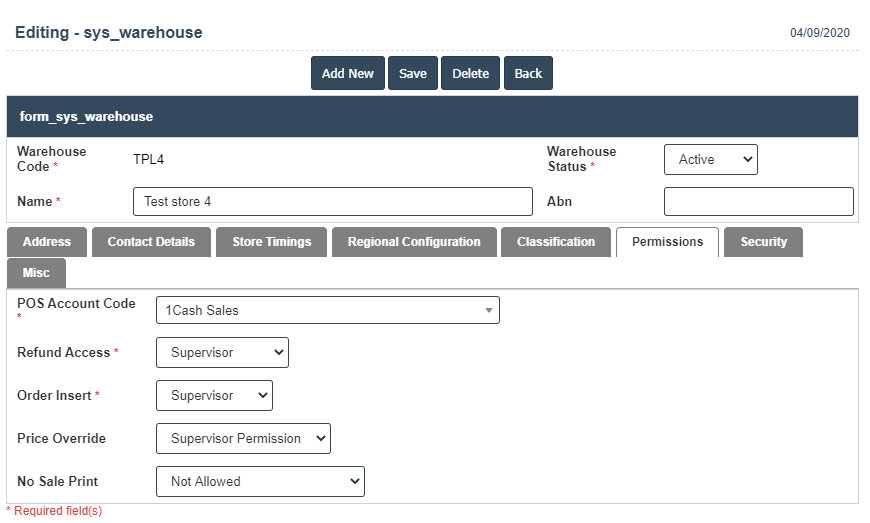
13. After Enter the Permissions then we should go for Security.
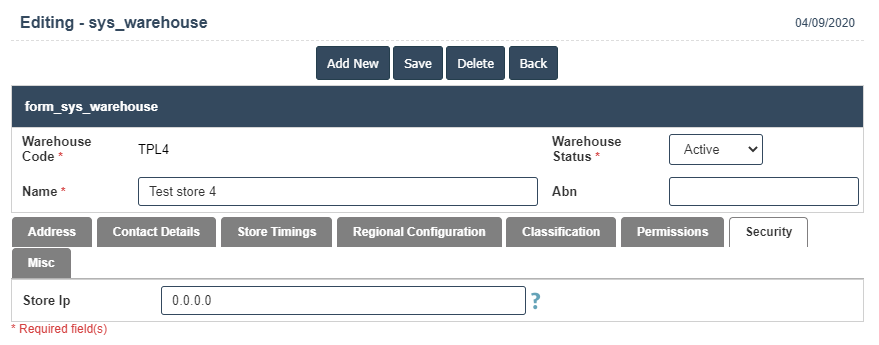
14. After Enter the Security then we should go for Misc fill the details then click on save button details are saved.