Users
1.Go to the back-office and click on the option Server Administration - Security and then click on the option Users.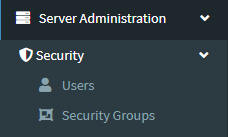
2. Users : This Application is used for Users Security for Server Administration.
3. Users Applications containing the following fields.
4. In the below image you will observe a pencil symbol which is used to edit the user details.Though you cannot edit user id by directly logging we need to edit it in database
5. we have a list of following users as shown in the below image .
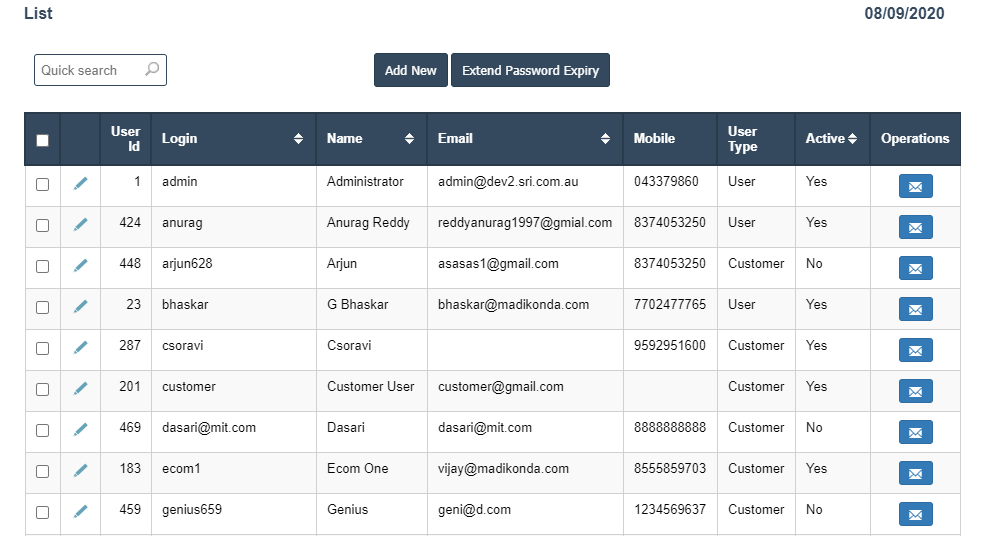
6.Add New : This Button is used for "Add" the New user
7.Extend Password Expiry:This Button is used for Extend the Password for User Security.
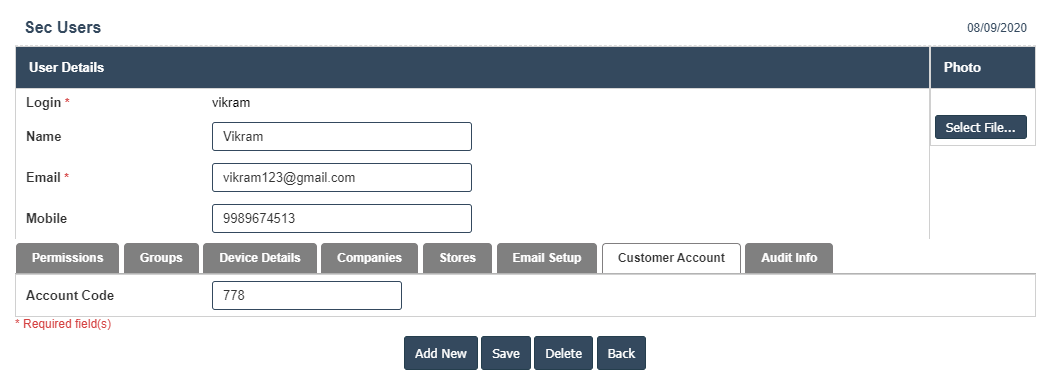
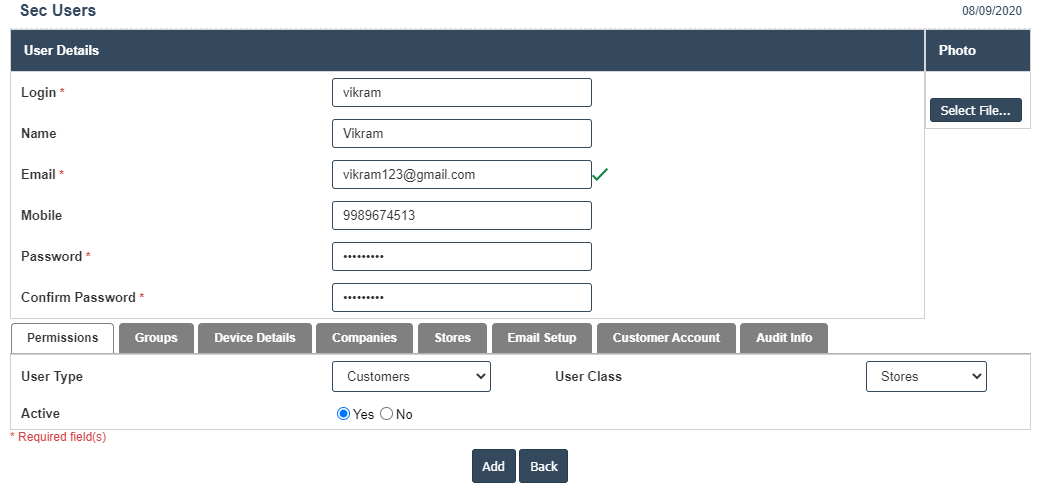
8. In the below image when we click on "Add New" Button.Then it will displays the following as shown in image 2.
9. Which contains fields to be filled mandatory are as follows.
- Login
- Name
- Mobile
- Password
- Confirm Password
Login:
These login field is used to create a user id .user can login in to his/her account by using these user id.
No special characters or symbols are used while creating user id.
Name:
Name of the user should be entered in this field .
Email:
email of user should be entered in this field.
Password:
password should be entered in this field by the user what ever he/she wants
No special characters are used while creating a password.
Confirm Password:
re-enter the password you typed in the password field, these field is used to check whether the password you entered in the password field matches or not
Note:Fields which are with (*) symbol are the mandetory to be filled.
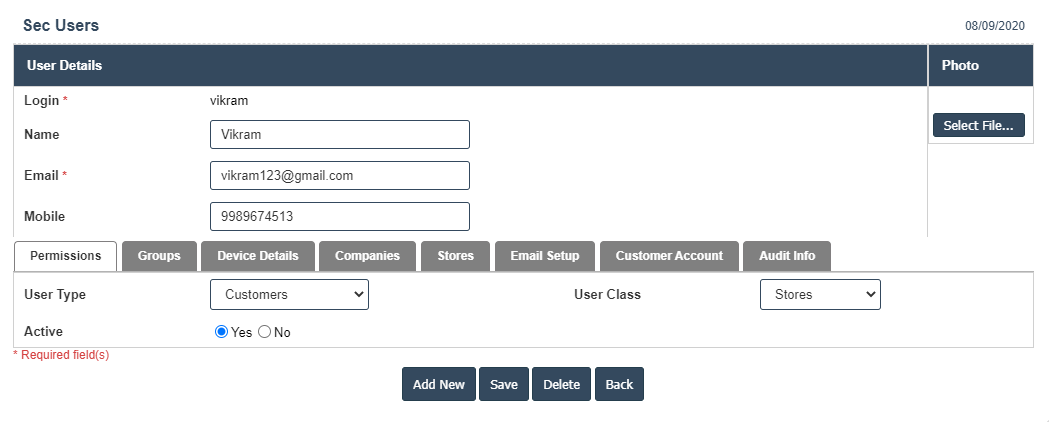
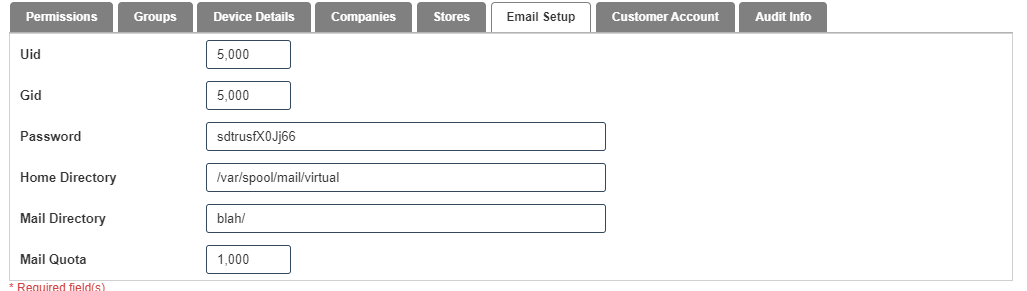
10. After confirm password field you will see as follows
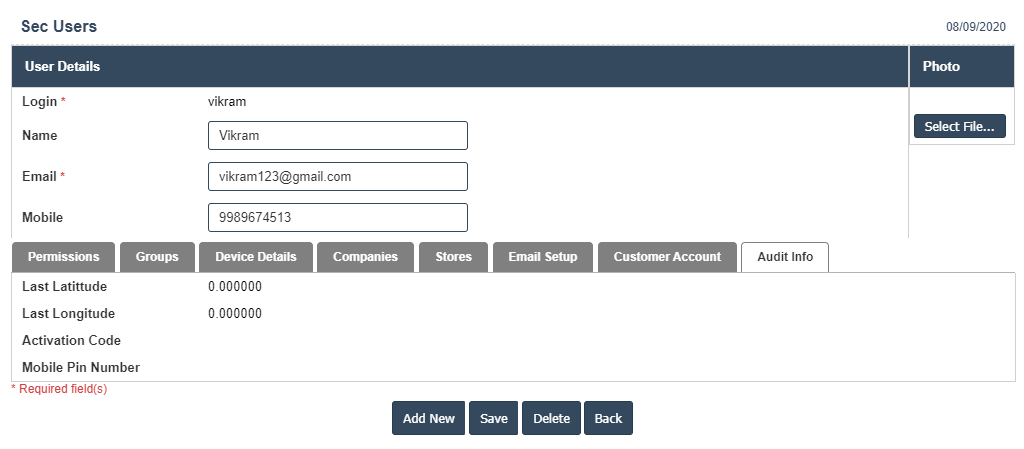
Permissions Device details,Groups,Companies,Stores, Email Setup, Customer Account and Audit info.
11. click on permissions
under permissions we have fields such as
- User Type,
- User class,
- Active ,
- admin
select whether user type is either - customers,
- users & Employees,
- Suppliers,
- Agents.
12. Under user class(It reffers the class of the user) select either Adminstration( if the user is administration .He/She has permission to enter both in POS and BACK OFFICE and he can modify all the details ) , Stores(If the user is under store class .He/She has permissions only to enter POS) or Head office.
13. Active(it reffers whether the user is active or not)
yes
no
14. Store(it reffers whether the user has permissions are not)
yes
no
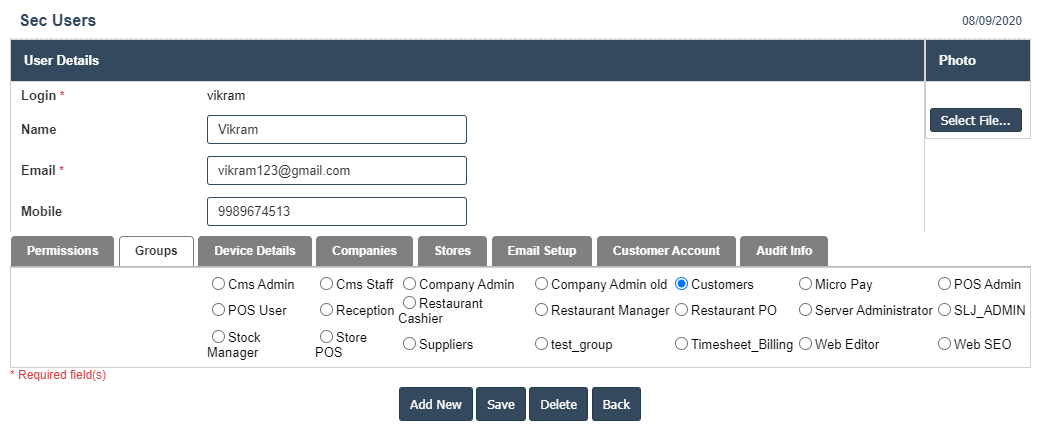
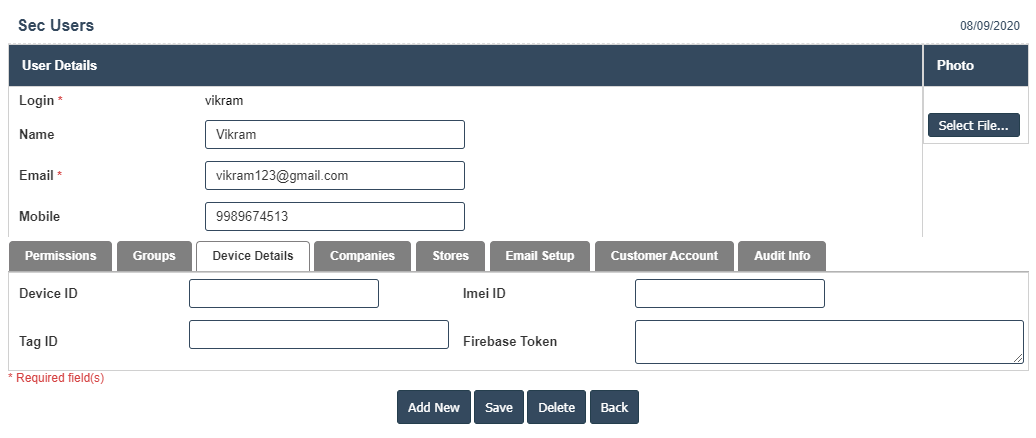
15. After entering all details click on Save button and go for the next field Device Details, it will display device id and imei id,then go for the next field groups
16. you will see following options like Administration, cms_admin,cms staff,demo admin,instructor,librarian,new customers,
reception,rst_cashier,rst_manager,rst_po,store pos,student,test_group etc..
17, Administration has permission to enter both in pos and back office
18. Store pos has only permission to enter in pos
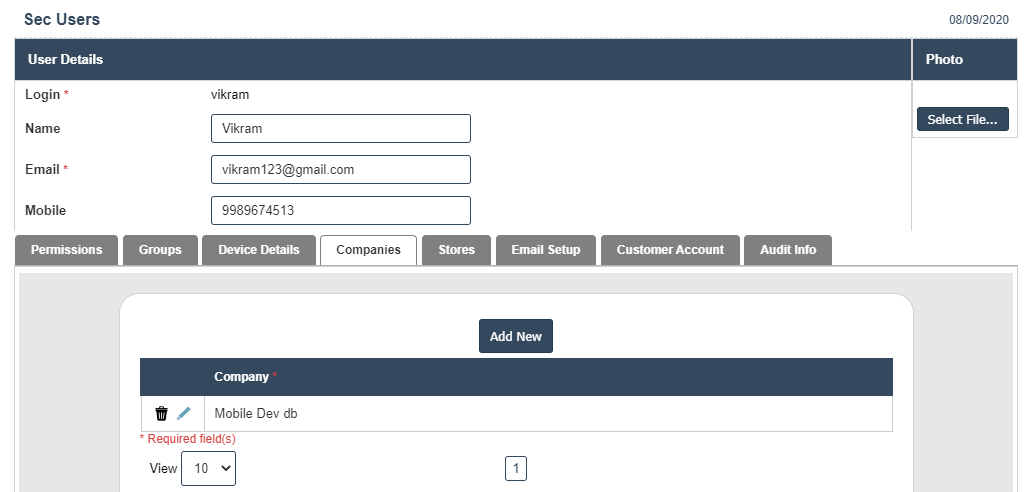
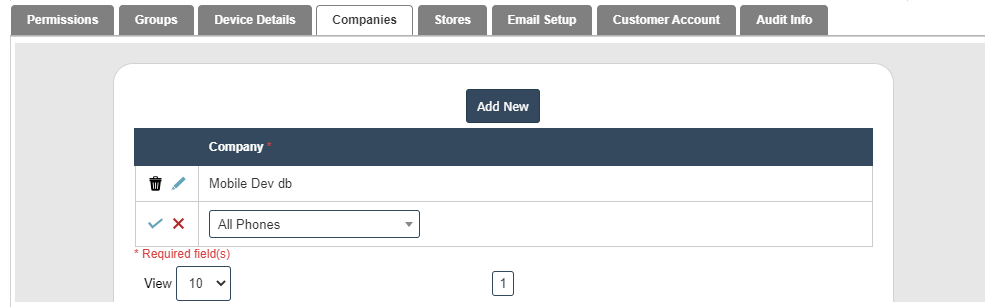
19. After selecting any one in group go for companies then it will display as follows.
20. We observe that only one company id is added in it.
21. If you want to add more click on add on top then it will display as follows select the company id and click on (right mark which appears in green color)
then the new company id will be added,similarly we can how many we need.if want to delete u can delete by clicking on delete symbol (appers left of the row)
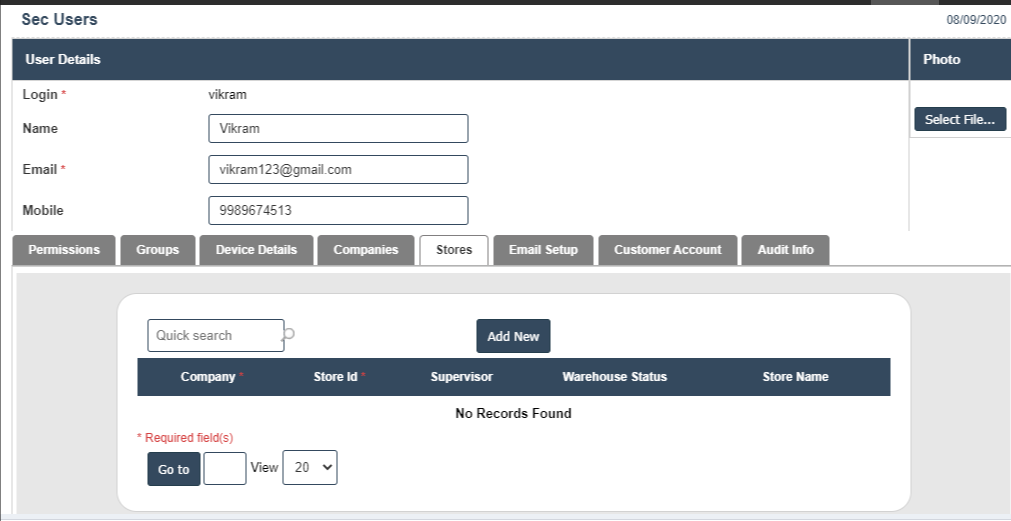
22. And then click on store it displays as follows
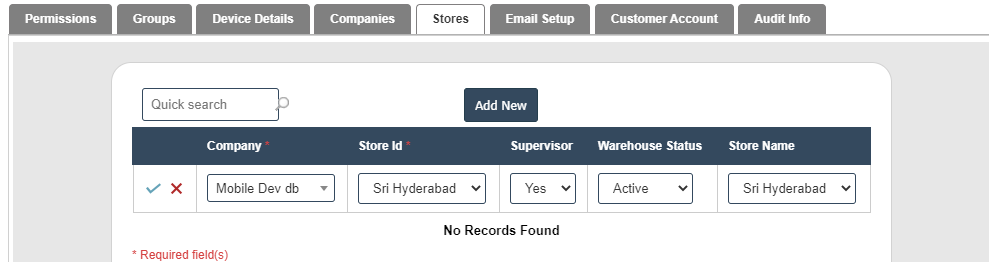
23. Initially it will display no record found.Then click on add new it will display as follows.
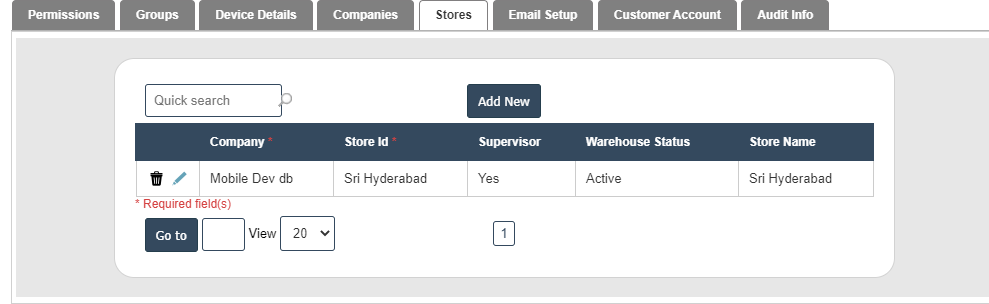
24.Then select company store id ,supervisor as yes and store status as active and then click on save now new user is added.
25.check by using login and password whether the user is added or not by entering in to login page.