Crm Master
1. Go to the back-office and click on the option Customer Relationship Mgmt - Transactions and then click on the option CRM Master.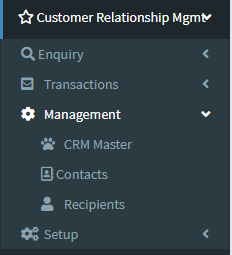
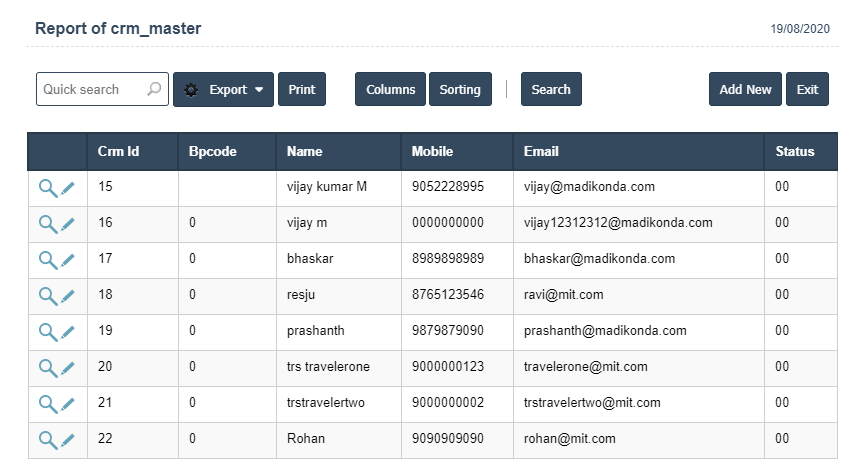
2. To add a new CRM Master click on the Add New Button as shown below.
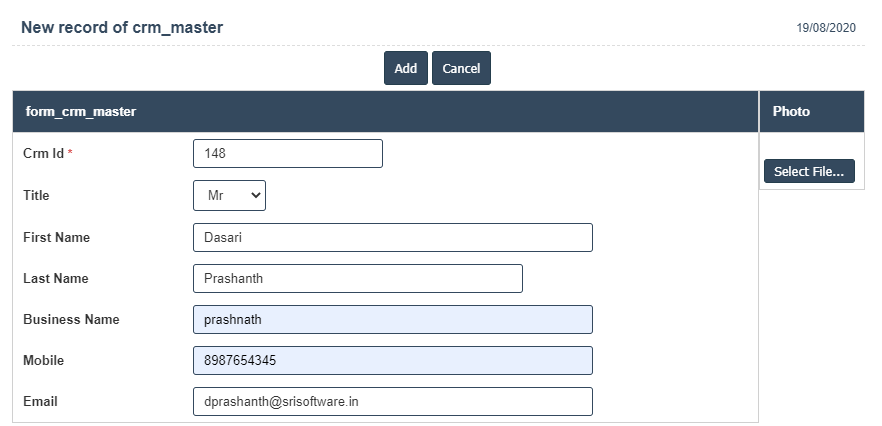
3. A New CRM Master will open the new page and enter the manually all details.
4. Fields in this CRM Master Include:
• Crm Id
• Title
• First Name
• Last Name
• Business Name
• Mobile
5. Once you have completed the CRM Master details, clicking the Add button as shown below.
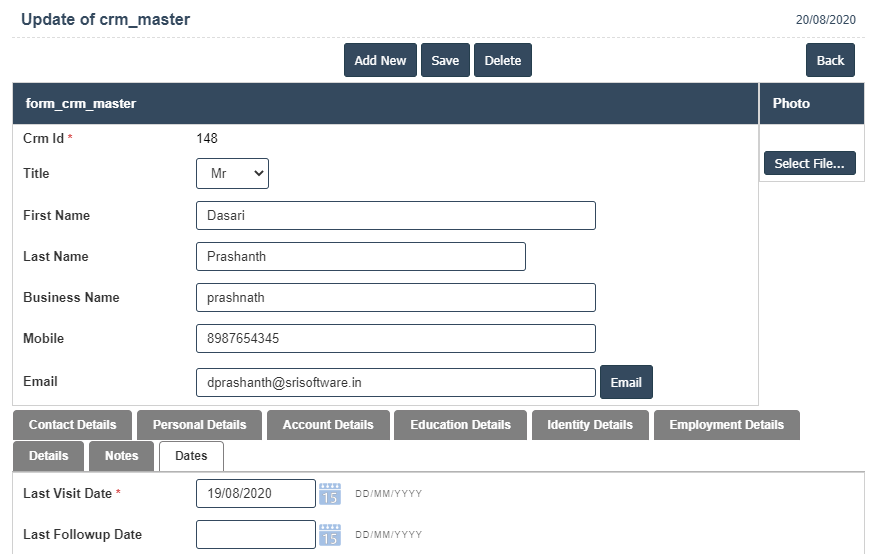
6. First we have to enter the Contact Details.
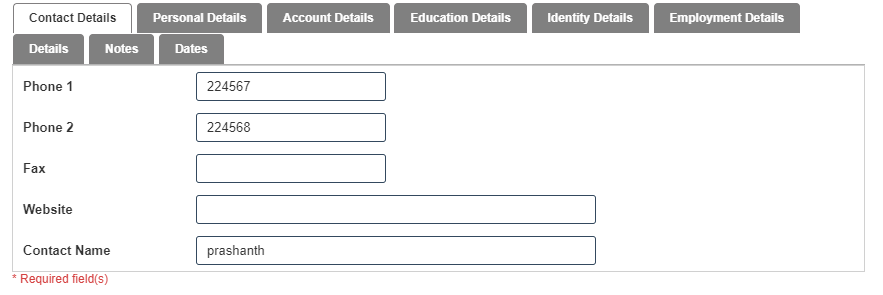
7. After Enter the Contact Details then we should go for Personal Details.

8. After Enter the Personal Details then we should go for Account Details.
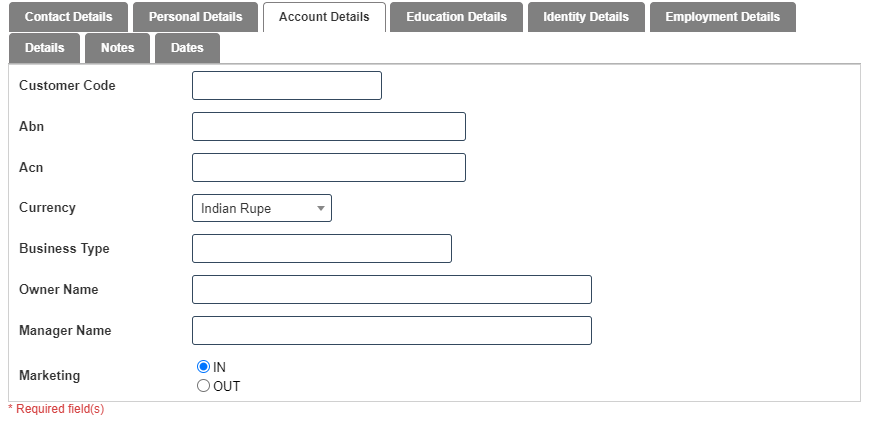
9. After Enter the Account Details then we should go for Education Details.
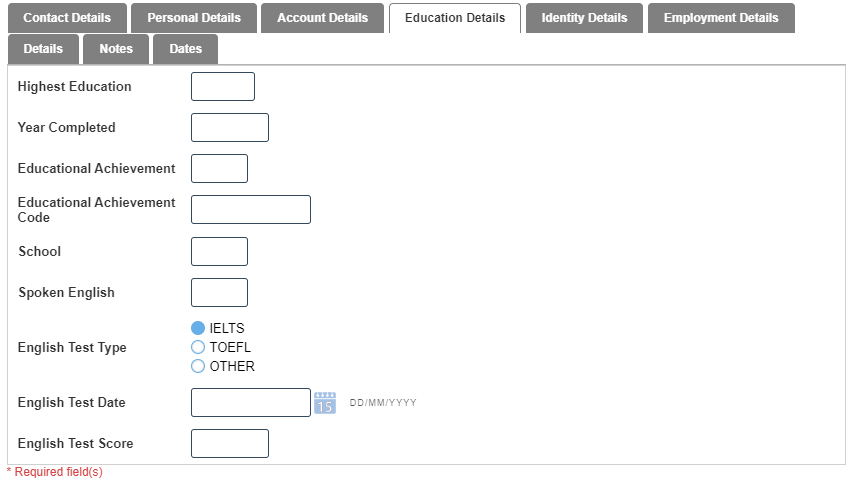
10. After Enter the Education Details then we should go for Identity Details.
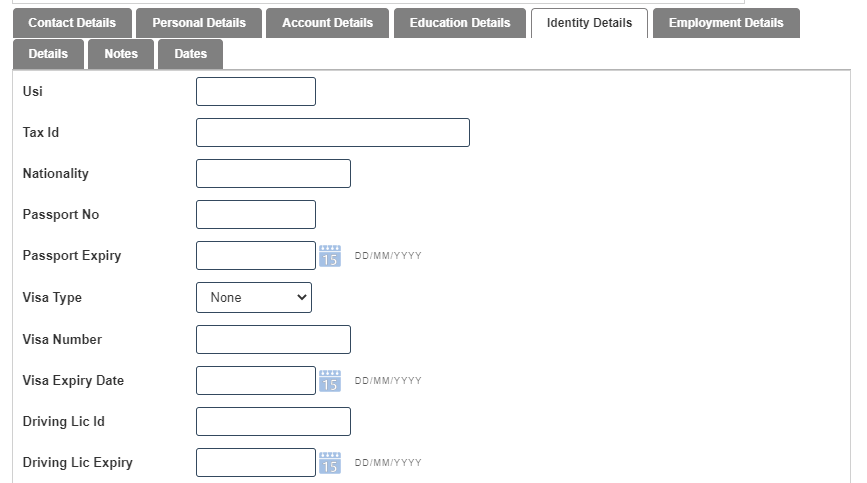
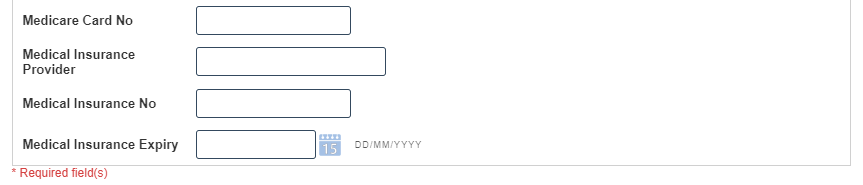
11. After Enter the Identity Details then we should go for Employment Details.

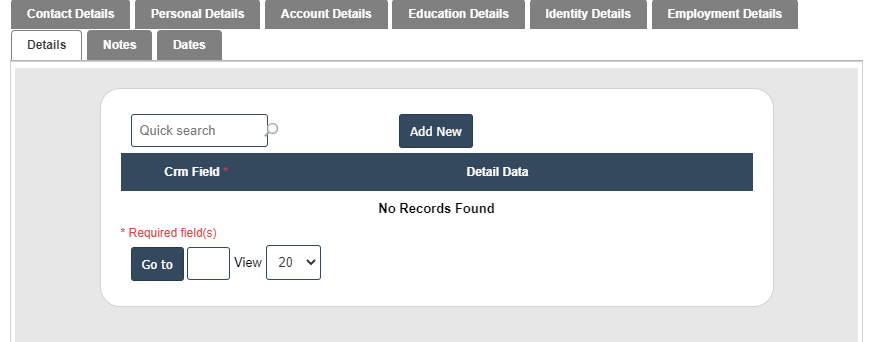
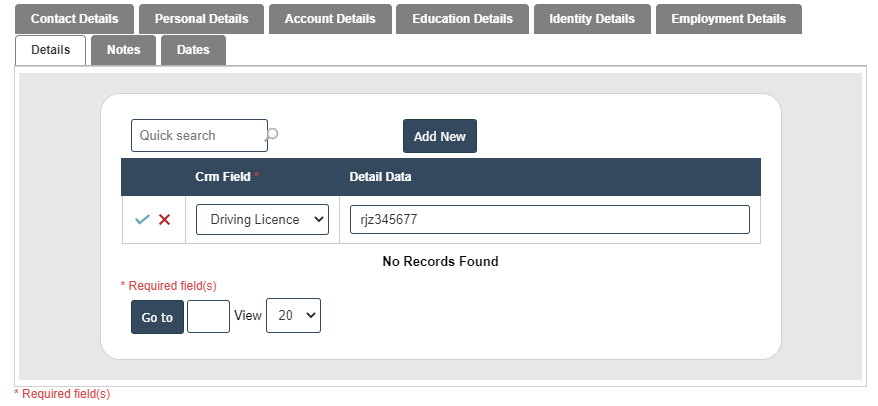
12. After Enter the Employment Details then we should go for Details then click on add new button as shown below.
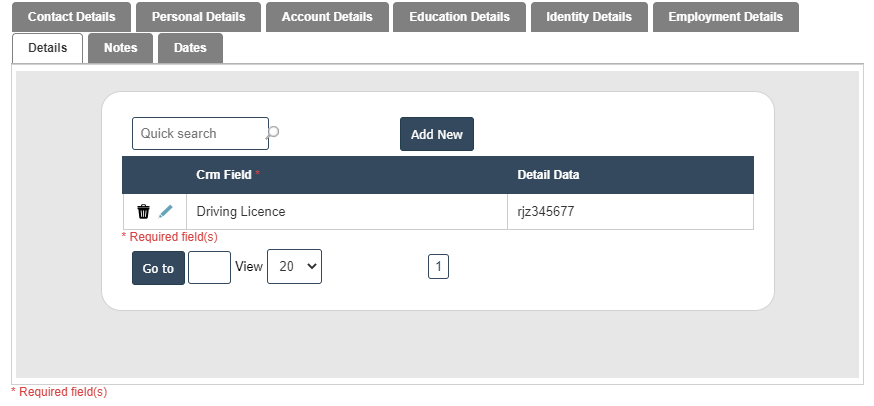
13. After Enter the Details then we should go for Notes.
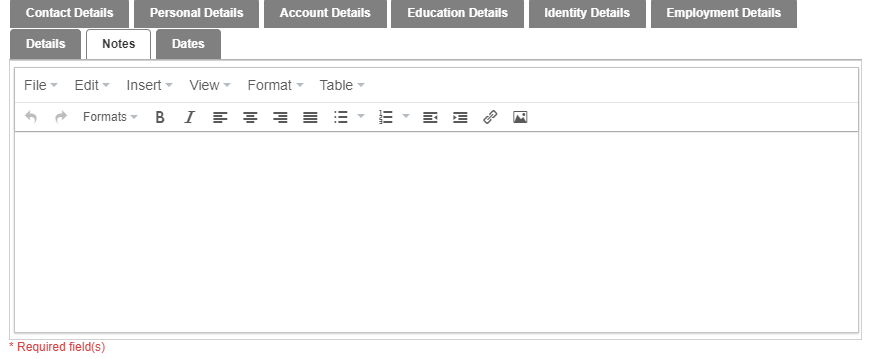
14. After Enter the Notes then we should go for Dates.
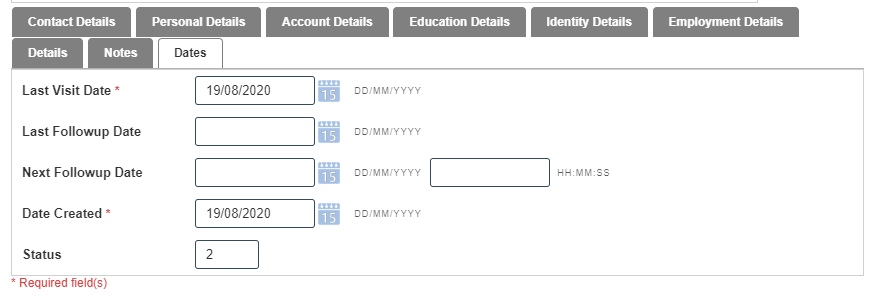
15. Click on save button then details are saved.