Student
1. Go to the back-office and click on the option Campus Management - Students and then click on the option Student.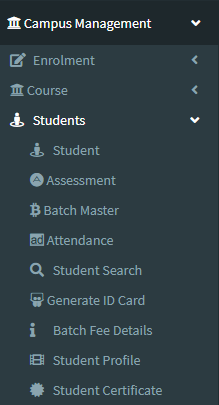
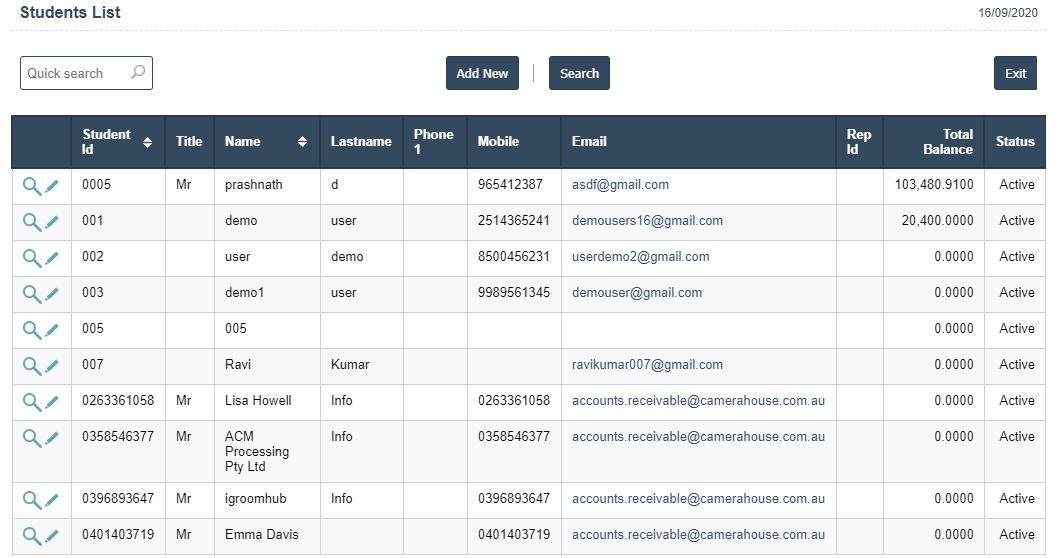
2.Add New : This Button is used for Adding New Student.
3. In below image click on Add New Button then it will displays the following image.
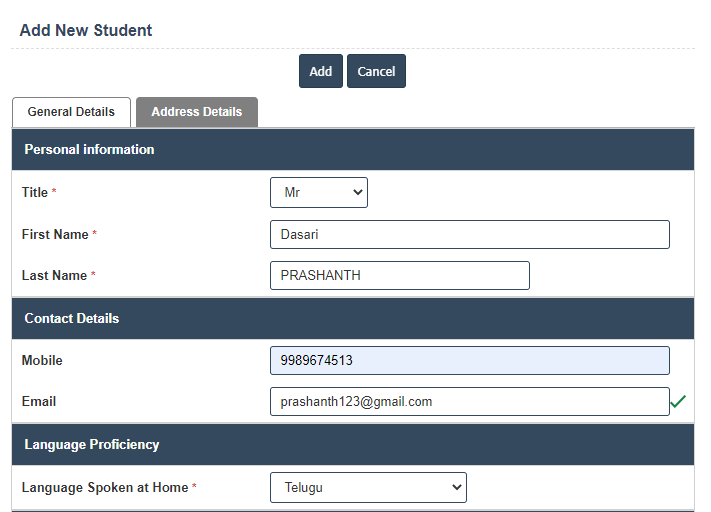
4. A New Student will open the new page and fill the details.
5. Fields in this Student Include:
- Title
- First Name
- Last Name
- Mobile
- Language Spoken at home.
6. Once you have completed the Student details, click the Add button as shown below.
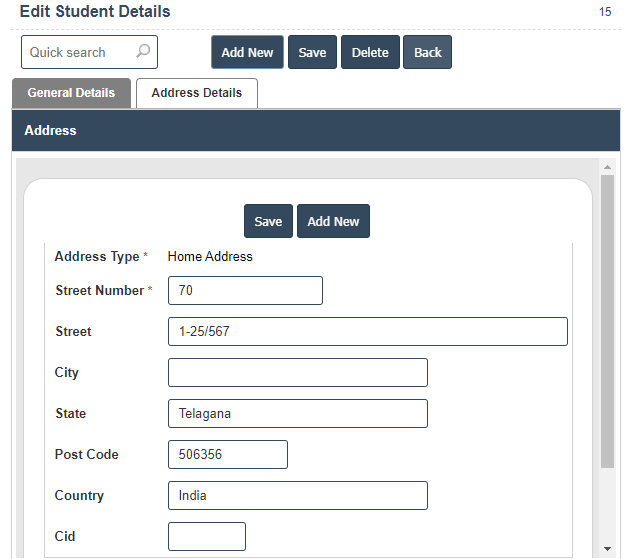
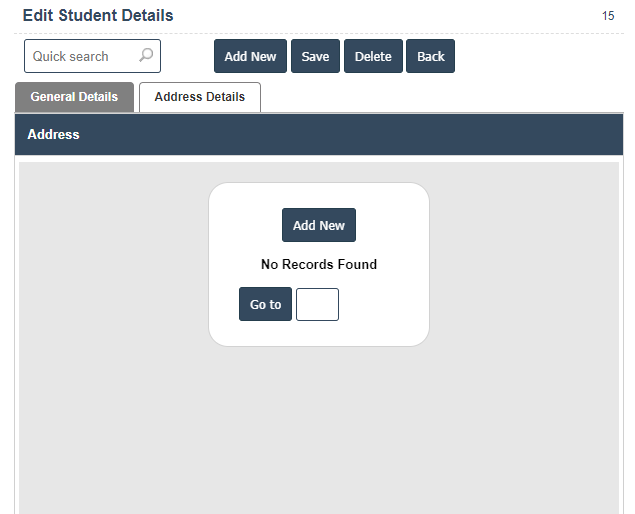
7. Click on Address Details then click on Add New button.
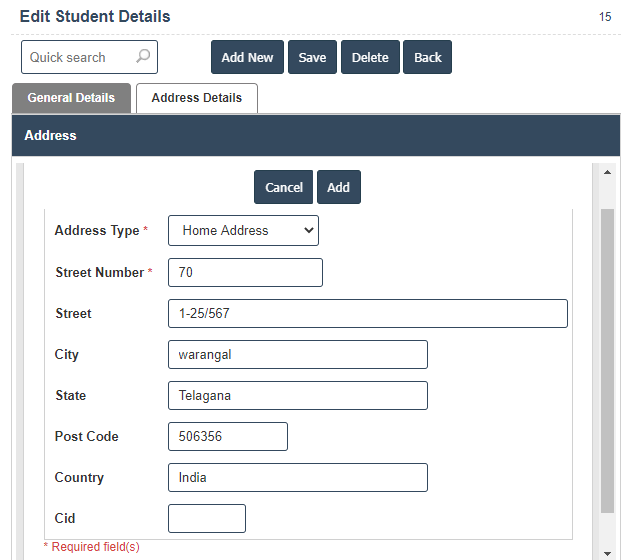
7. Enter the Address type, Street Number, Street, City, State, Post code and Country fill the details then click on Add button it will displays following image.
8. Click on save button then details are saved.
