Categories
1. Go to the back-office and click on the option Inventory - Setup and then click on the option Category.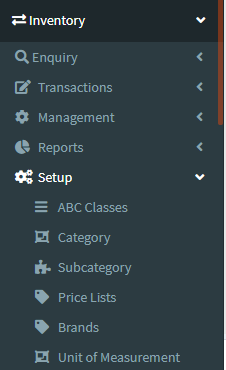
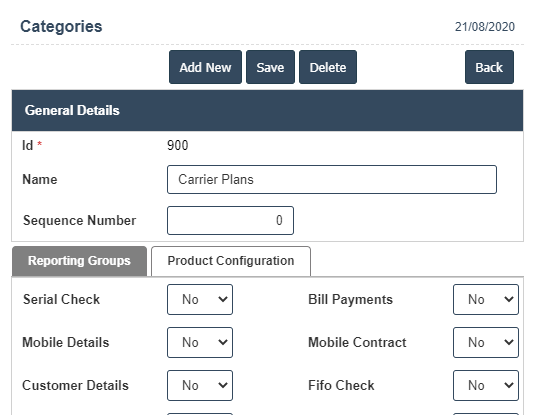
2. To add a new Category click on the Add New Button as shown below.

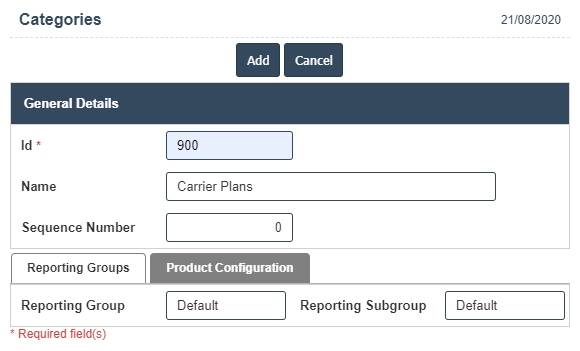
3. A New Category will open the new page and enter the manually all details.
4. Fields in this Category Include:
- Id
- Name
- Sequence Number
5. Once you have completed the Category details, clicking the Add button as shown below.
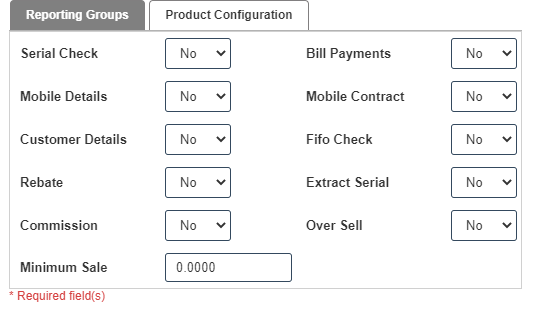
6. Click on Reporting Groups then Fill the details.
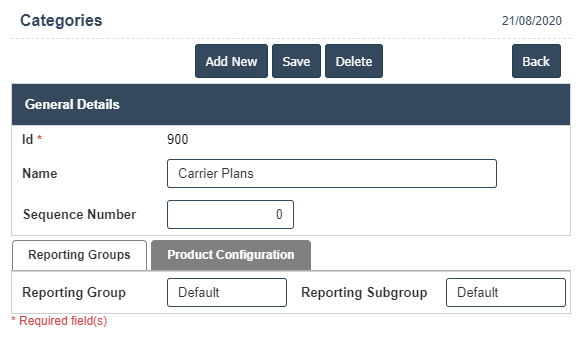
7. Click on Product Configuration then fill the details.
8. Click on save button then details are saved.