Contacts
1. Go to the back-office and click on the option Customer Relationship Mgmt - Management and then click on the option Contacts.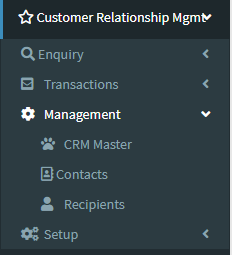
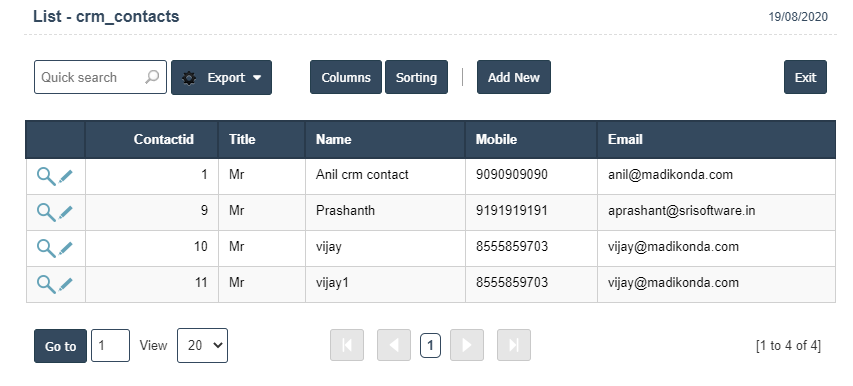
2. To add a new Contacts click on the Add New Button as shown below.
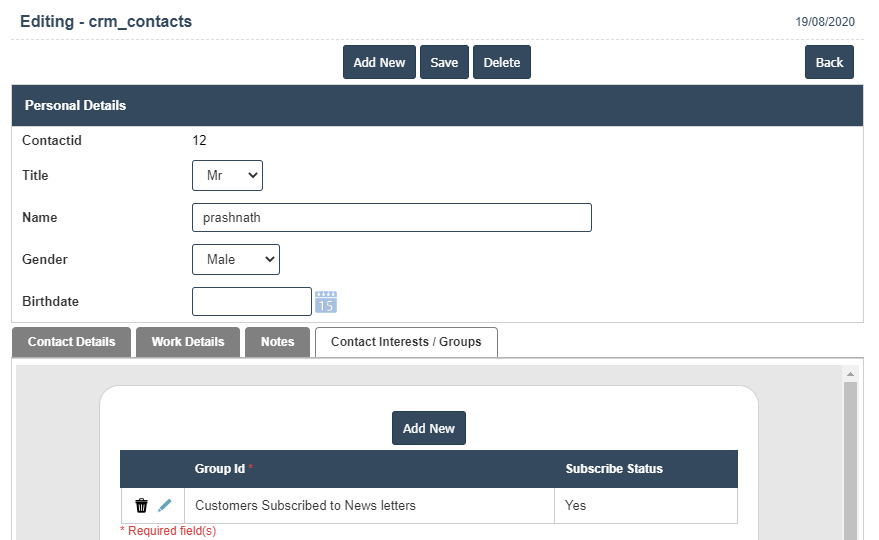
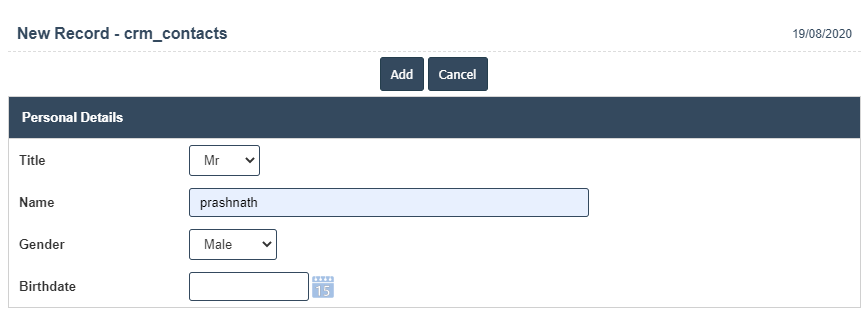
3. A New Contacts will open the new page then enter personal details.
4. Fields in this Personal Details Include:
Title
Name
Gender
Birthdate
5. Once you have completed the Contact details, clicking the Add button as shown below.
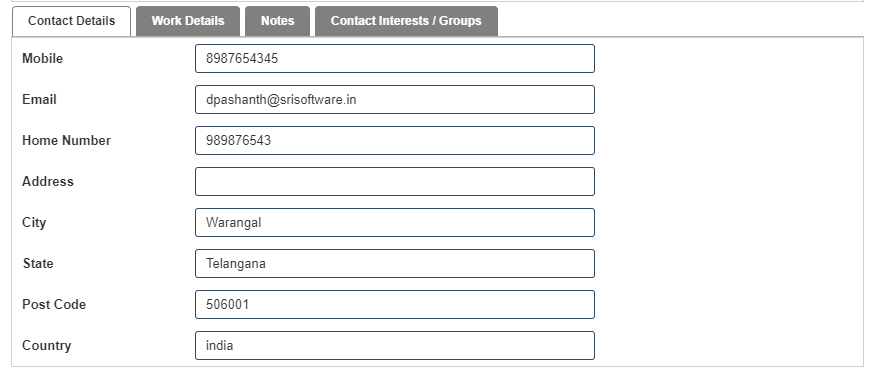
6. First we have to enter the Contact Details.
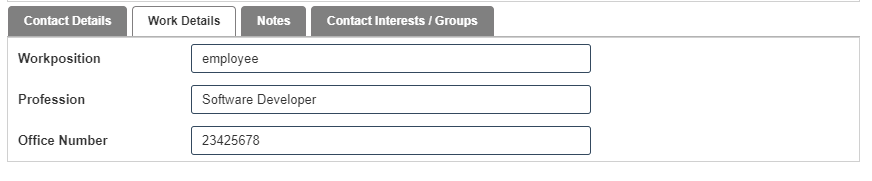
7. After Enter the Contact Details then we should go for Work Details.
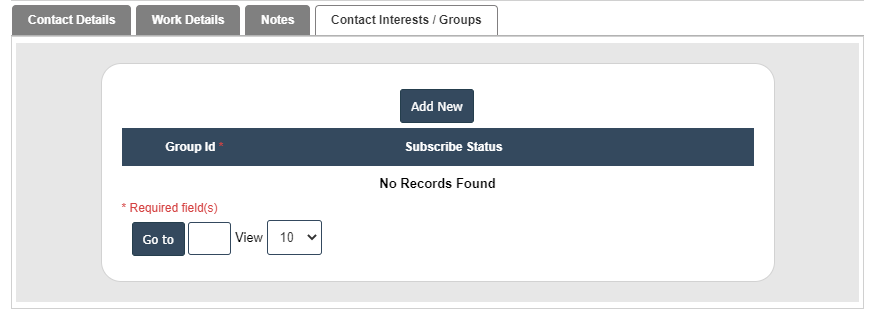
8. After Enter the Work Details then we should go for Notes.

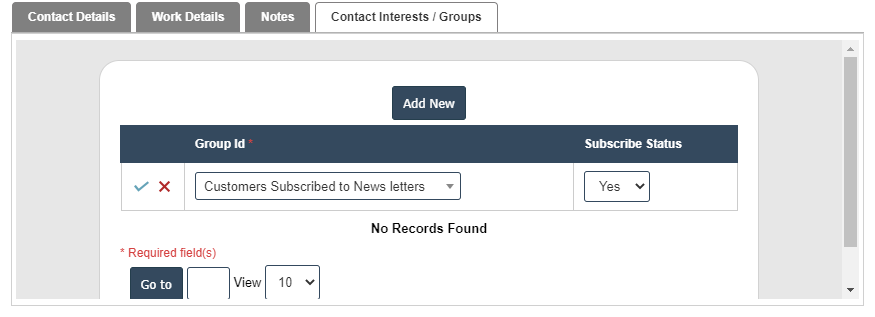
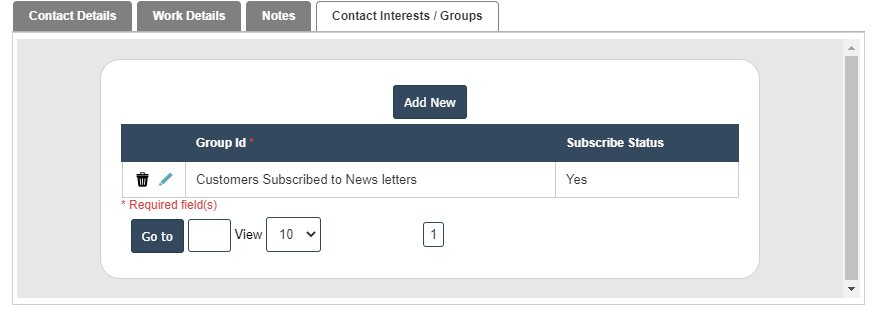
9. After Enter the Notes then we should go for Contact Interests/Groups then click on Add New button as shown below.
10. Click on save button then details are saved.