Quotes
1. Go to the back-office and click on the option Quotations - Management and then click on the option Quotes.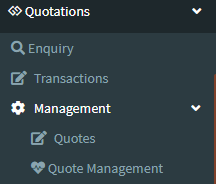
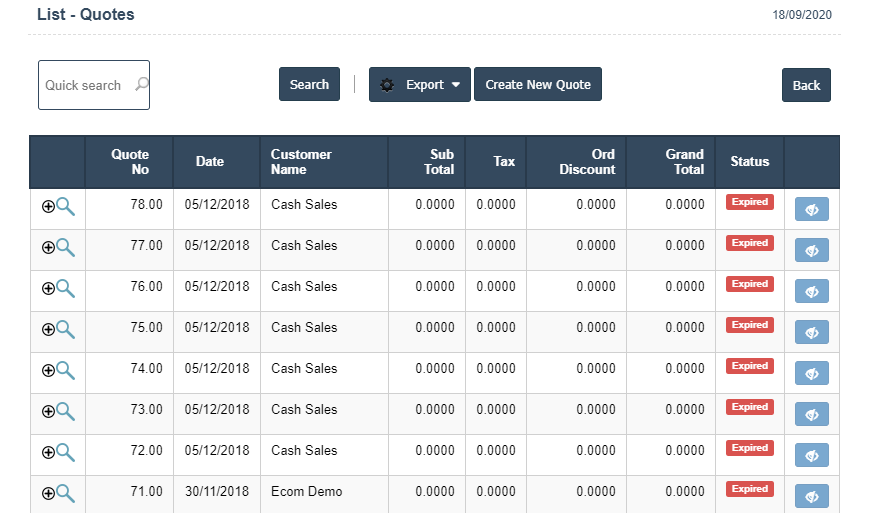
2. Create New Quote : This Button is used for Adding New Quote.
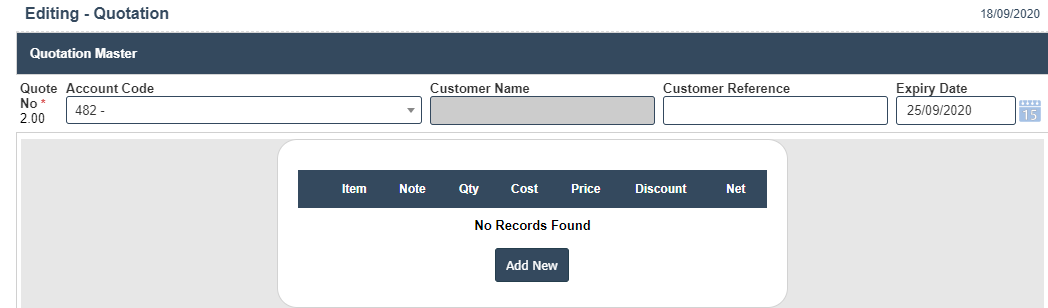
3. In below image click on Create New Quote Button then it will displays the following image.
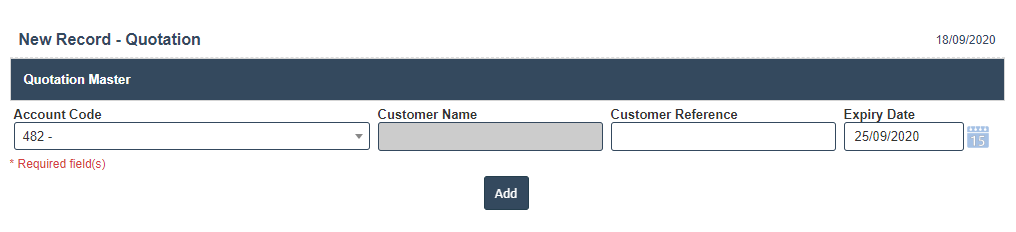
4. Account Code, Customer Name, Customer Reference and Expiry date fill the details then click on Add button it will displays the following image.
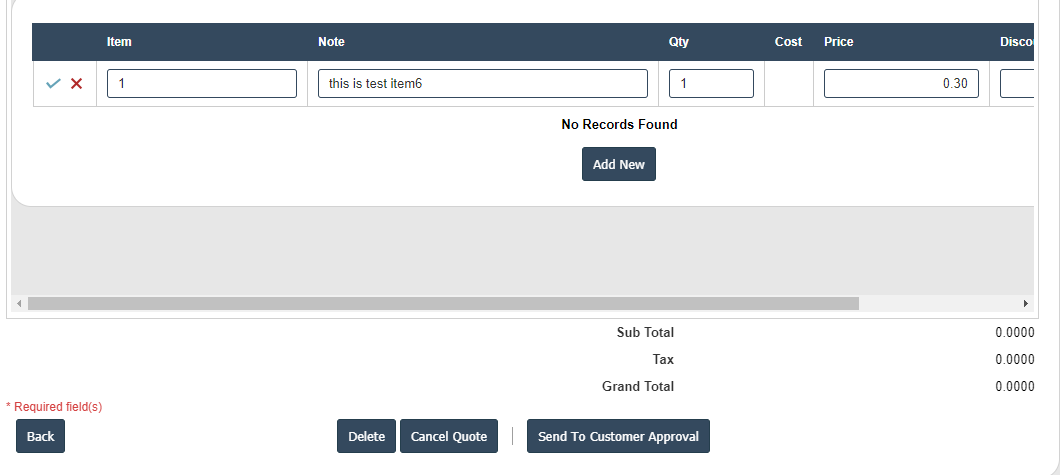
5. Click on Add New button.
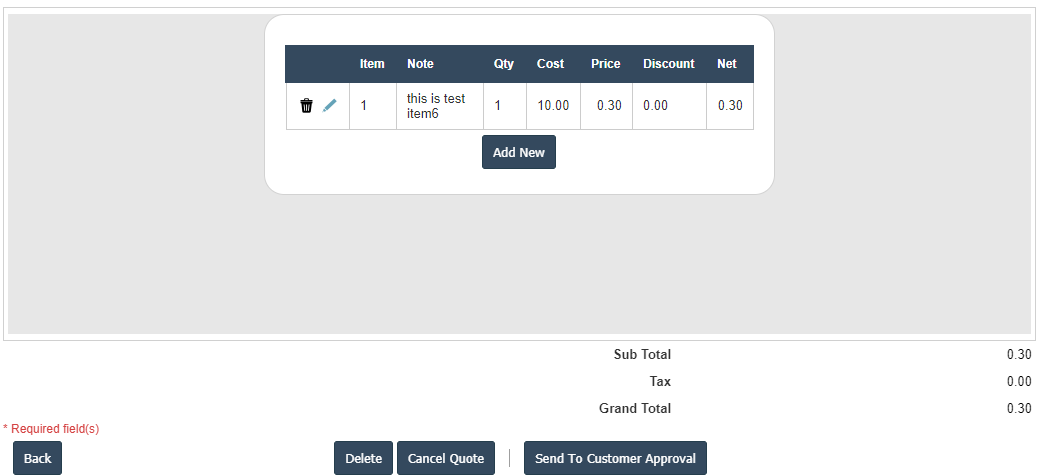
6. After that Item, Note, Qty, Cost, Price, Discount and Net fill the details then click on
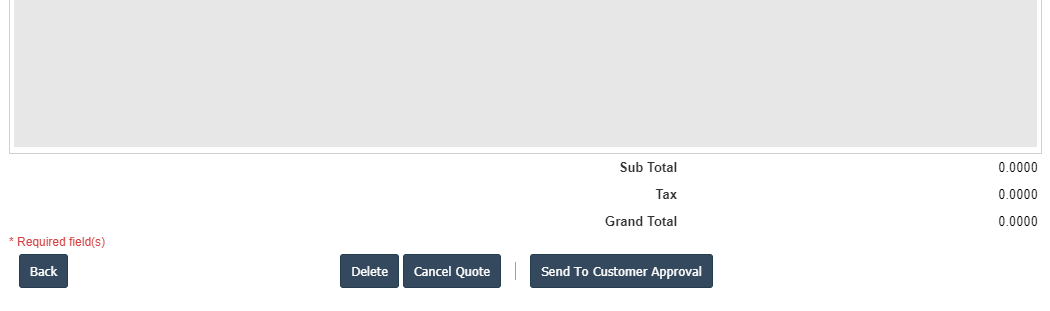
7. Click on Send To Customer Approval button.
8. Click on ok button.
9. Click on ok button.
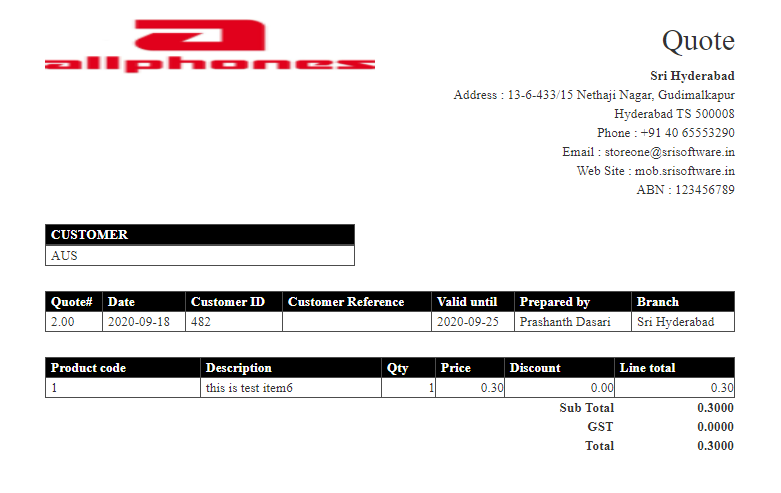
10. Quote Print.