Nat
1.Go to the back-office and click on the option Campus Management - Reports - Nat reports and then click on the option NAT.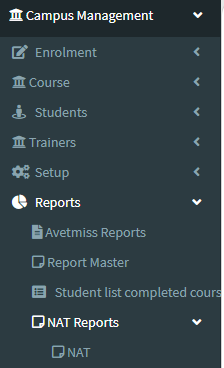
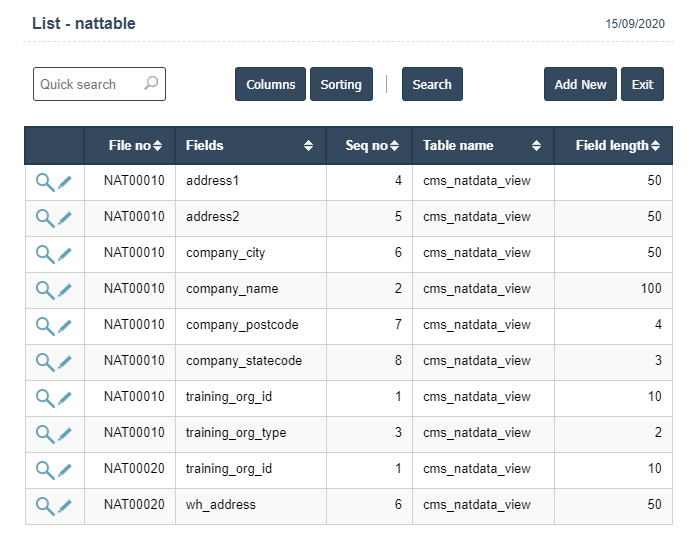
2.Add New : This Button is used for Adding New NAT.
3. In below image click on Add New Button then it will displays the following image.
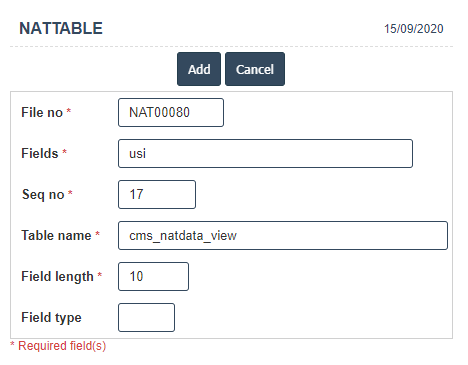
4. A New NAT will open the new page and fill the details.
5. Fields in this NAT Include:
- File no
- Fields
- Seq no
- Table name
- Field length
- Field type.
6. Once you have completed the NAT details, click the Add button as shown below.