Glc Master
1. Go to the back-office and click on the option Travel Reservation System - Management and then click on the option GLC Master.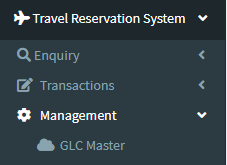
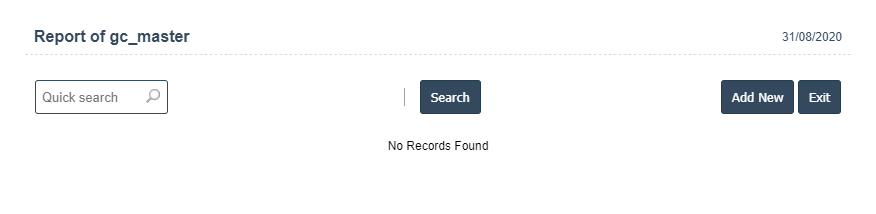
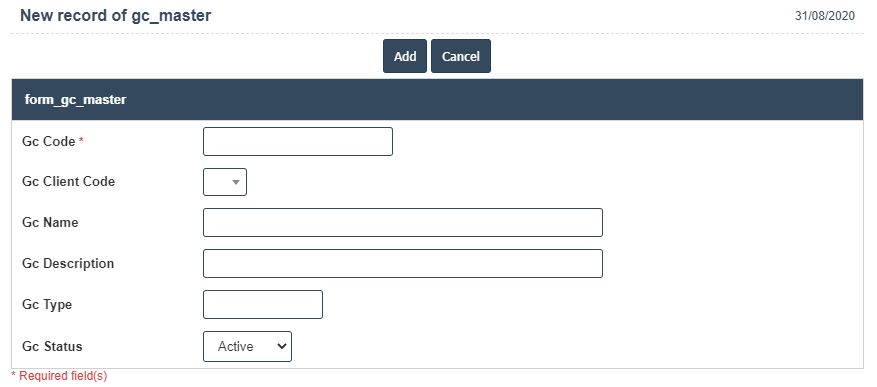
3. A New GLC Master will open the new page and fill the details.
4. Fields in this GLC Master Include:
- Gc Code
- Gc Client Code
- Gc Name
- Gc Description
- Gc Type
- Gc Status - Active/Inactive
5. Once you have completed the GLC Master, clicking the Add button as shown below.